Fullstack Vue App
March 29, 2021
This is my first big Vue project I’m building.
Project Setup
Repo: Photobook
Website: my-photobook.netlify.app
Tutorial: “Full Stack Photobook App | Vue, GraphQL, AWS Amplify”
Project Setup & Config:
- set up Vue project (Vue 3, Vue Router)
- connect to Git
- install AWS Amplify (Library, CLI, and UI Components), Tailwind, UUID,
amplify config&lify initto connect cloud instance to local working files
Add Authentication:
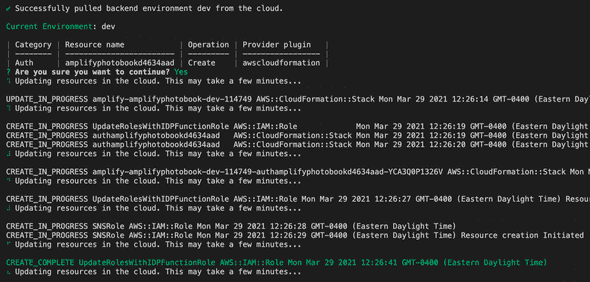
- add authentication (AWS Cognito) with
amplify add auth - use
amplify statusto check its been added - we then use
amplify pushto deploy changes to the cloud
I set up our Vuex actions in our store. Here we’re bringing in Auth from AWS Amplify by import { Auth } from "aws-amplify"; and then following the docs to implement. We set up our generic user actions: sing up, sign in, sign out, and sign in confirmation. Next we need to create our Login screen component
Login Component:
Our primary login screen is a simple form with two input fields. We’re using Tailwind CSS for the styling and we’re using a v-model directive for two-way data binding in each field. We’re also importing mapActions from Vuex as a helper method to allow us to talk to our Vuex store and write less code in the process. We’re then assigning our data object to the user’s login data
Set Up Routes:
Using Vue Router’s name routes we are setting up a couple pages. One is our /signup page which is self-explanatory. The next one is an /album page and we’ll apped an :id (i.e. /album/:id)to keep the routes dynamic, since each user will have their own unique albums. We’re also adding a meta property of { requiresAuth: true } which prevents a user from seeing the page unless they’re signed in. Last is the /albums/ page which will showcase all our albums, and we’ll add auth to it as well.
Create Signup Page:
We setup our two methods signUp and confirmSignUp that check if we have a username & password in the fields then dispatch actions to our Vuex store. Once successful, it will push us to the newly created /albums page via this.$router.push("/albums");.
Create Nav:
We now have navigation that will check if we’re logged in or out. It will also display our Signup option and our Albums nav item, once we’re logged it.
Add Router Guards:
This prevents non-logged in users from typing in /albums into the browser and navigating directly to a “protected” page (for logged in users). So what this code in our router folder’s index.js does, is that if the route’s (page’s) meta tag property requires auth it will return true and secondly, the const isAuthenticated = await Auth.currentUserInfo() is an AWS method to check for authentication. If both are true, we proceed to the protected route, if not (if either are false), we’ll send the user back to the home page until they log in successfully.
router.beforeEach(async (to, from, next) => {
  const requiresAuth = to.matched.some(record => record.meta.requiresAuth)
  const isAuthenticated = await Auth.currentUserInfo()

  if (requiresAuth && !isAuthenticated) {
    next("/")
  } else {
    next()
  }
})
Storage:
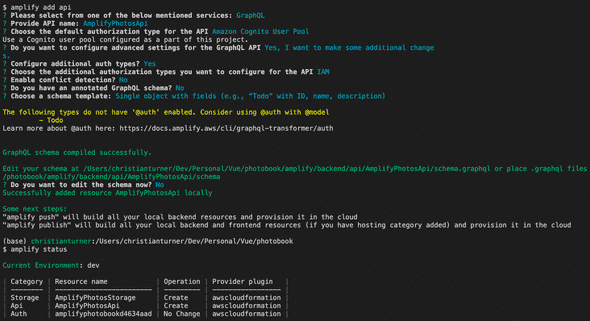
We add an AWS S3 bucket for storage using amplify add storage as well as AWS AppSync API using amplify add api and then after conifuration checked to make sure it had successfully been added using amplify status. Then we updated our default GraphQL schema to work for our album needs.
GraphQL Schema:
I copied the GraphQL schema from the given project code, and after an amplify push we’re good to go. This auto-generated our graphql folder with our mutations, queries, and subscriptions.
Create Albums & Photos:
We created our 3 albums methods: createAlbum, getAlbum, and getAlbumsData and connect them to our Vuex store with our GraphQL queries. Then we fleshed out our Albums page and created our Create Album button that calls the method to create it.
For creating the photos, we’re grabbing the AWS config data and constructing the photo and extensiona dn creating that as input data and then pushing the storage data to the S3 bucket. Once that works, we create the mutation in the GraphQL operation which then resolves the promise.
Update Albums:
We
Written by Christian Turner
Follow me on Twitter


